

Why fewer, better choices read as expensive
Expensive videos look decided. There is one place, one palette and a camera that moves with intent. Cheap videos look gathered, with a new location every four bars, a new colour every cut and a handheld wobble nobody chose.
Money mostly buys time and crew. You can borrow the result by cutting down what the viewer sees. One room lit well beats five rooms lit badly.
How to do it, step by step
- Pick one location with depth, such as a corridor, a stairwell or a kitchen with a long back wall. Depth gives you foreground and background, and layers look like cinema.
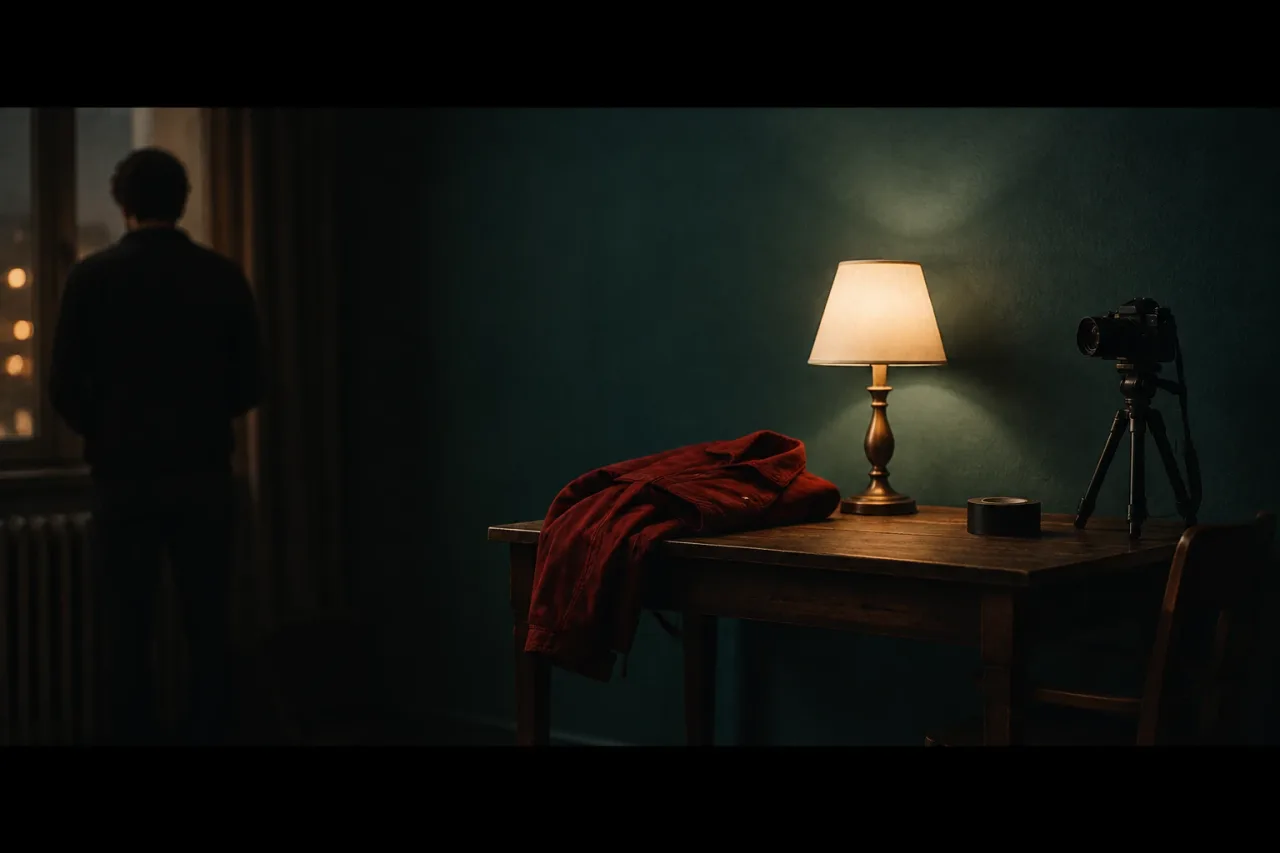
- Choose three colours and clear the rest from the frame. A teal wall, a warm lamp and one red jacket is plenty. Take posters off the walls and tape over logos.
- Turn off the ceiling light and use practical light. Put a 3200K tungsten bulb in a lamp that shows in shot. Let a window or a cool 5600K LED sit behind as contrast.
- Move the camera slowly. A push-in over 8 seconds on a tripod or a slider beats a gimbal orbit for most songs, because it gives the viewer one thing to watch. Shoot at 25 fps with a 1/50 shutter.
- Cut the shot list in half. Fifteen shots of 8 to 12 seconds will look better than sixty shots of two. Hold the wide frame for the chorus and cut on the downbeat of the bar.
- Grade everything once, with the same settings on every shot.
What to do when it does not work
If the room is ugly, go tighter. Use the longest lens you have, stand the singer a step away from the wall and let the background fall into shadow. A face and one warm lamp can fill a whole shot.
If the image looks flat, put a light source inside the frame, such as a lamp behind the singer at head height. If you have no slider, lock off the tripod and scale in by five percent over the length of the shot in the edit. A one-take structure also forces you to plan fewer moves, and the one-take guide shows how to block it in an afternoon.
Film only in rooms you own or have permission to use, and only with people who have agreed to be on camera. This is not legal advice.
A common mistake
Most people grade each shot on its own, so the colour jumps at every cut. Others lay a heavy teal and orange preset over footage shot under mixed bulbs and wonder why the skin looks green.
Fix white balance in camera first, so every shot sits at one kelvin value. Then do the colour grade on one shot, copy it to the rest and only nudge exposure. DaVinci Resolve is free and does colour correction, which is enough for this job.